Blog

tradition + performance

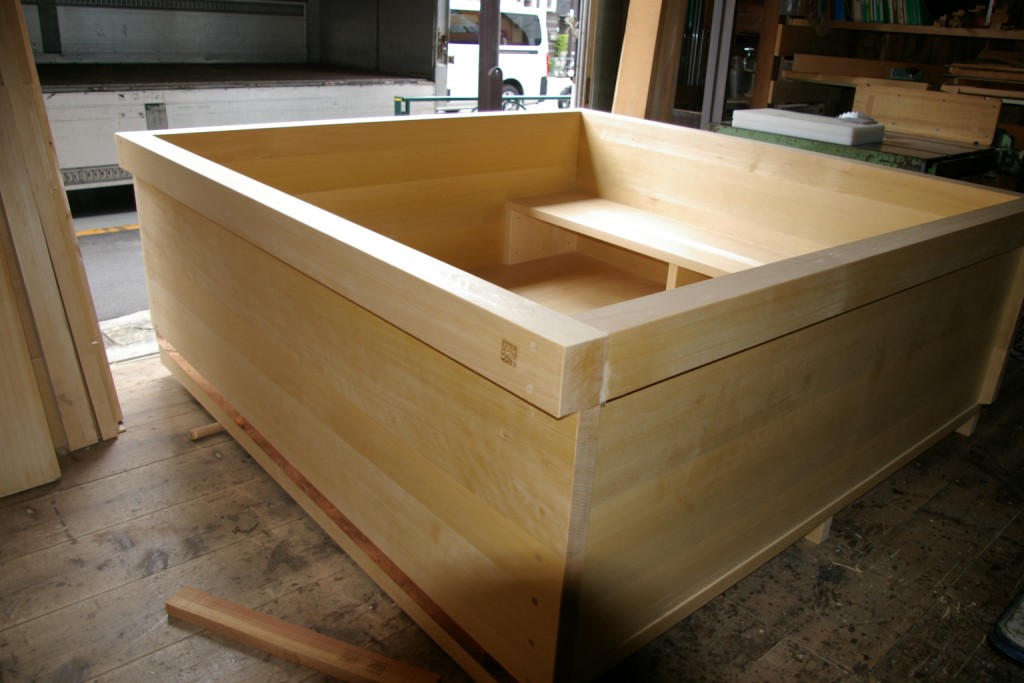
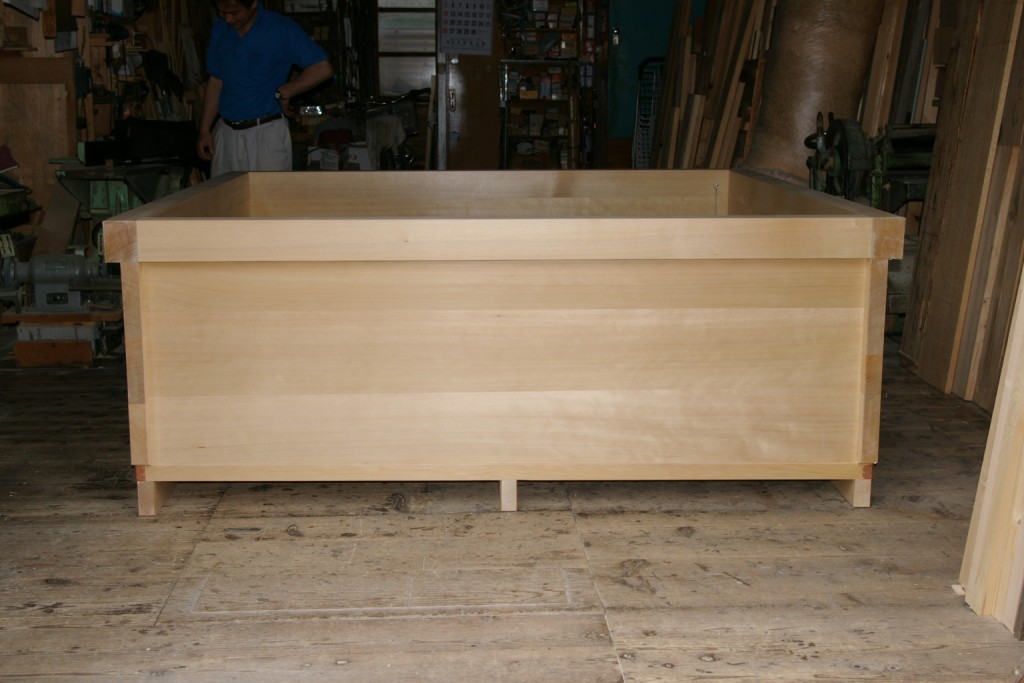
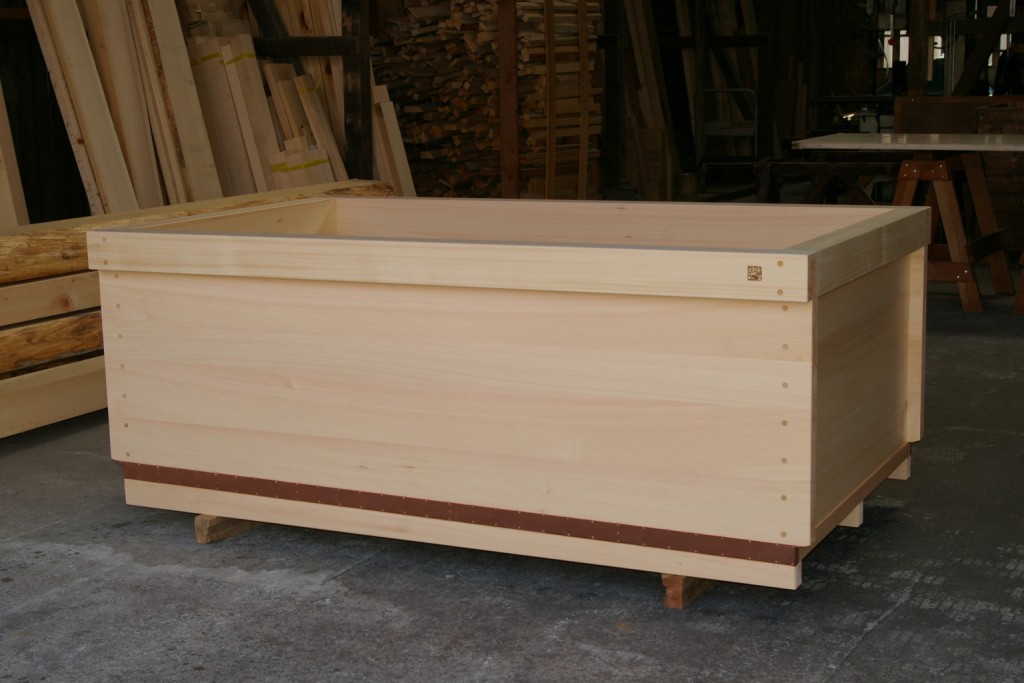
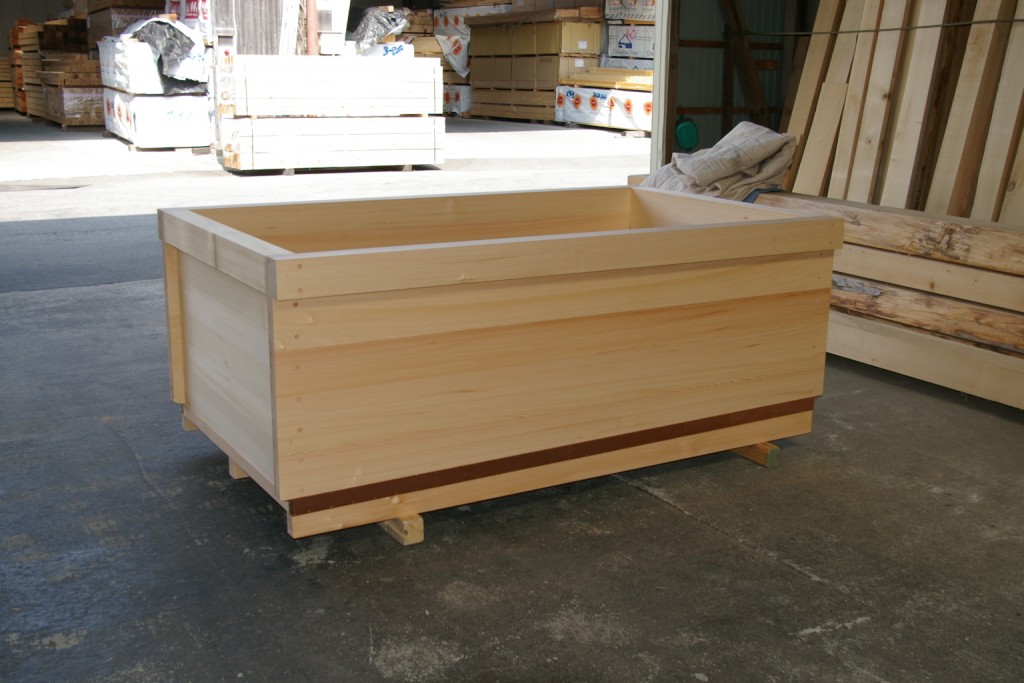
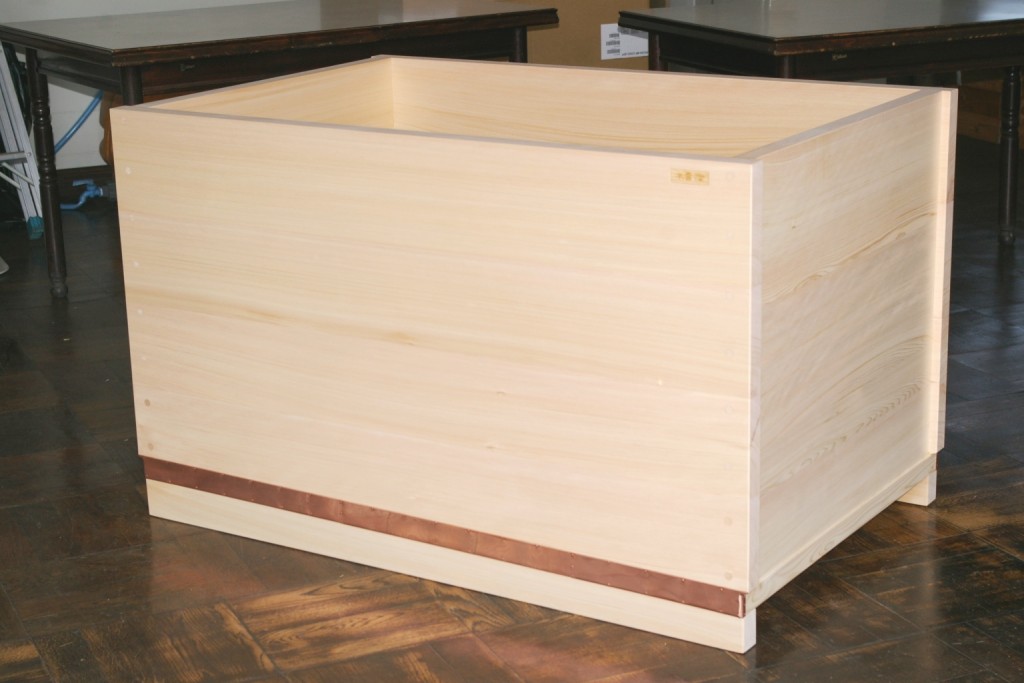
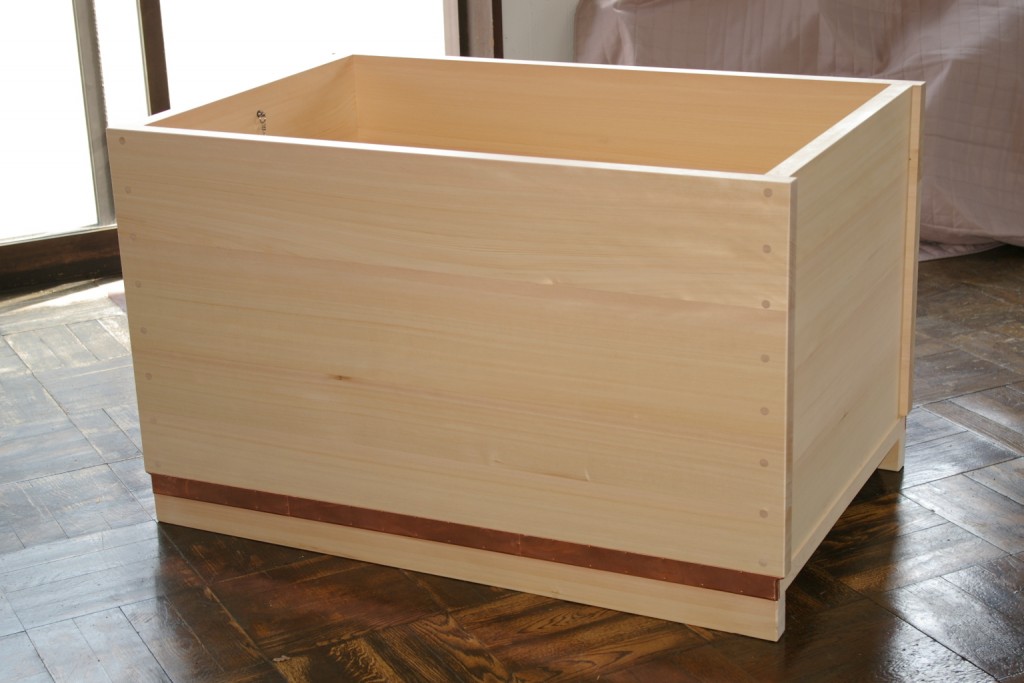
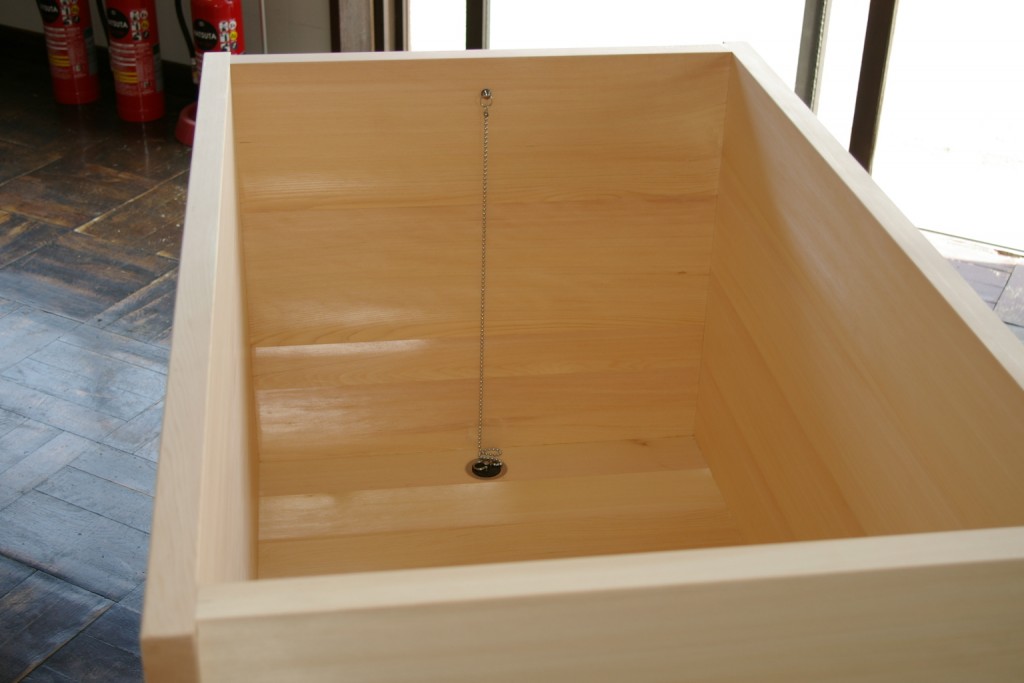
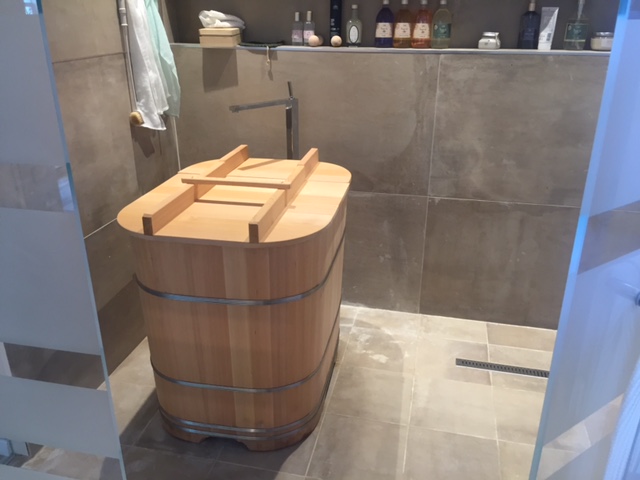
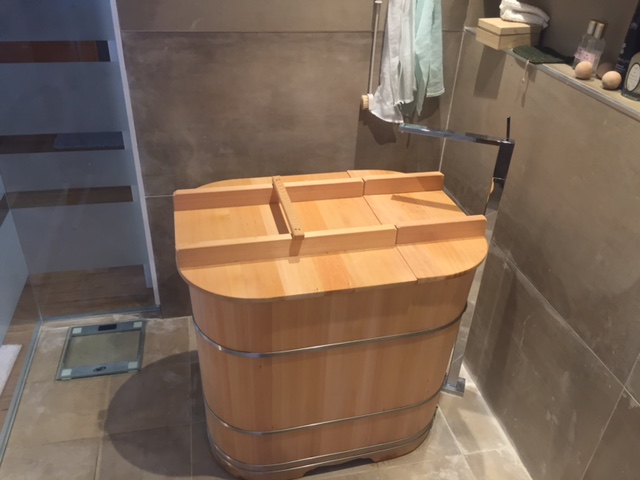
hinoki bath tubthe hinoki bathtub is basically like a large basinet which sits on the floor. The faucet is usually wall mounted or ledge mounted so no adaption is needed. The drain is in most cases not connected with any fitting: the water just flows on the floor towards a floor drain. Installation of an hinoki bath is simple and straightforward.
no waterproofing for 1st floor installation ->

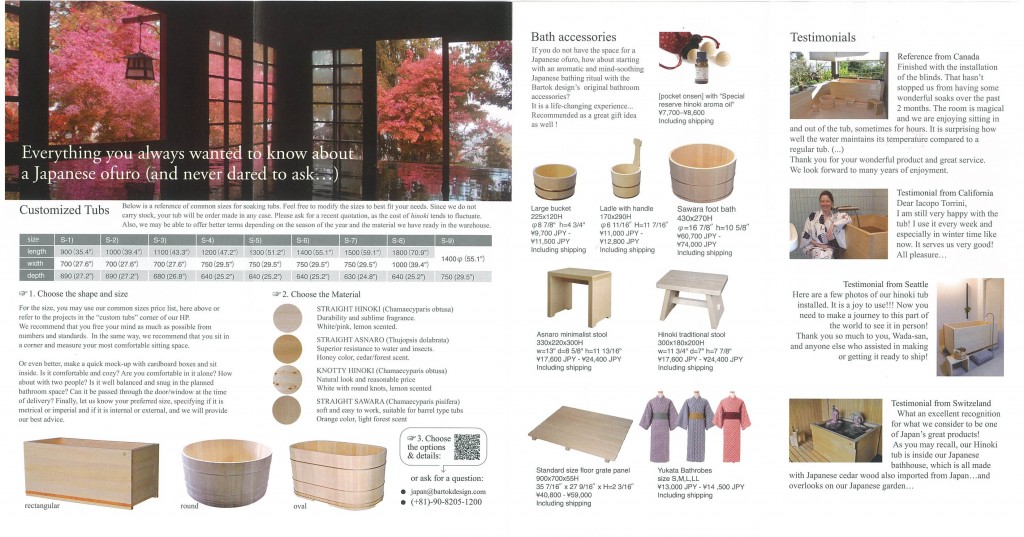
We usually have a couple of standard tubs in stock, but we recommend you to have your bath-tub made to order to your specifications.
We will be able to customize the tub, match your desired dimensions, choose your preferred wood essence at no extra cost.
We will provide you with detailed CAD drawigs and personalized installation instructions. We also provide technical assistance, and a 1-year guarantee against manufacture defects.
Please read below for more informations or feel free to contact us for any inquiry:

japan(at)bartokdesign.com
tel. +81-90-820-512-00 (mon-fri 9-19 JST)
fax. +81-78-262-7151

art + nature

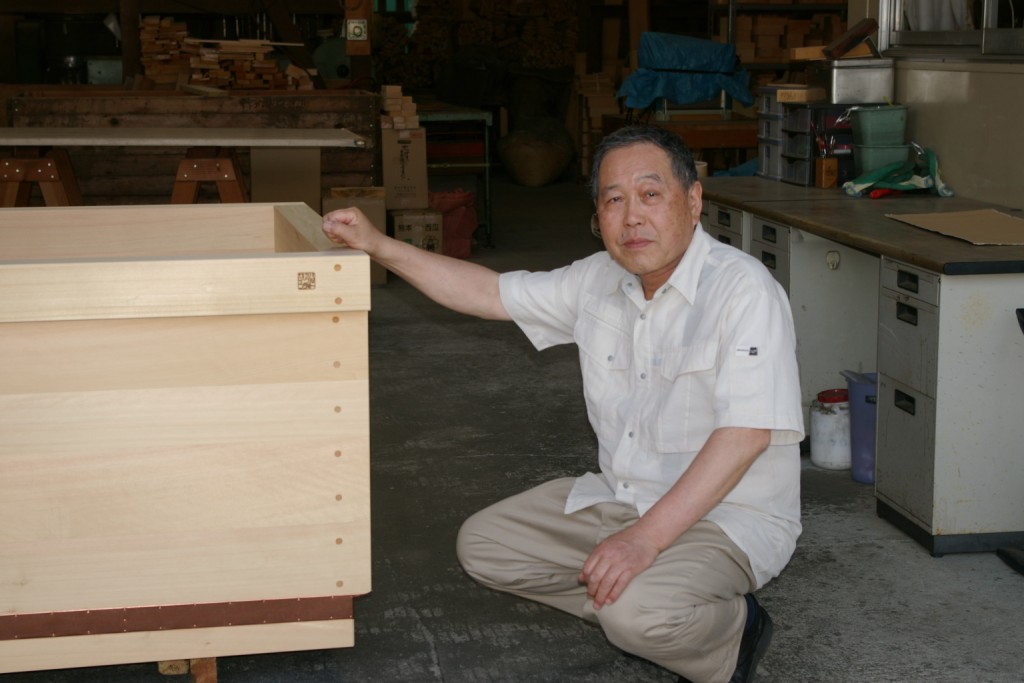
There is a step above the “handmade look”. Chisel and plane are the only tools used by the master “daiku”: yet he creates a perfectly square, smooth sculpture. No sealants or caulking are used but the masterful joints are invisible. There is no need for outspoken pride or rhetorics: this is the essence of perfect handwork.

hinoki bath-tubs are entirely hand planed ->


Who said that “handmade” has the downside of being rough?

Why shouldn’t “natural” be long-lasting?

Is it possible to have a “healthy” bathtub which is also beautiful and practical?

A hinoki tub is a masterfully built, smooth, natural and healthy, an easy-to-install and to maintain solution for your home: a WIN – WIN situation.

function + minimalism

Within a Japanese soaking tub, we can find represented many concepts of the Japanese way of seeing the world. Complex details, multiple functions, technological inventions, influential styles and even historical conflicts can be all present, in a perfect balance, in the apparently simple line of an invisible wood joint.
in Japan, wood CRAFT is synonymous with ART ->


drain situations…

An ofuro is something that a plumber has never seen and therefore “HOW DO I INSTALL IT?” is probably our top frequently asked question.

Installation is very easy, actually our recommendation is … not to install it at all!
Let`s see below what I mean:


OFURO SIMPLY ON THE FLOOR


ofuro-drain1
In japanese bathrooms, there is a floor drain and the floor and lower part of the wall is waterproofed and tiled.
If you have a bathroom built this way then the installation of the tub is the simplest of things: just place it on the floor!
Surprised? Well if you think about it makes a lot of sense: When you shower the water falls on the floor and from there flows towards the floor drain. In the same way, when you take a bath, water may overflow from the top rim and when you empty it the water will flow on the floor and towards the floor drain. What is wrong about that?
Basically the ofuro is just like a large bucket placed on the floor without need for a plumbing connection.
Another advantage of this configuration is that you can easily move the tub according to your mood or for maintenance/cleaning.

I understand that products commonly used to create wetrooms are Schluter®-KERDI-BOARD, Laticrete hydroban© etc.

#Variation:
If you are worried about the water spreading on the whole bathroom area, you may install a flexible hose attached to the drain. Just plug the edge in the center of the floor drain: This way the water from the tub will drain directly. The free section of the floor drain (around the hose) will still be able to pick up the overflow / water from the shower etc.


OFURO IN A DRAIN-PAN


ofuro-drain2
If you cannot waterproof the whole bathroom, just create a ditch or install a standard waterproof pan (like a shower drain pan under the tub. The drain pan can have a low rim (at least 50mm) or come up to the ledge of the tub (built in layout, like in the sketch above). Of course in this case the tub does not need any hard plumbing connection. Just slide the ofuro inside the drain-pan and you are set to go!
You can also find slim shower pans that are large enough to contain your ofuro. See here if you do not believe me

Again, for maintenance/cleaning you can lift up the tub (about 50Kg. for most residential projects)


OFURO WITH PLUMBING


ofuro-drain4


If you are not convinced of the above, or if your plumber is hard headed, you may go for a …hard connection!
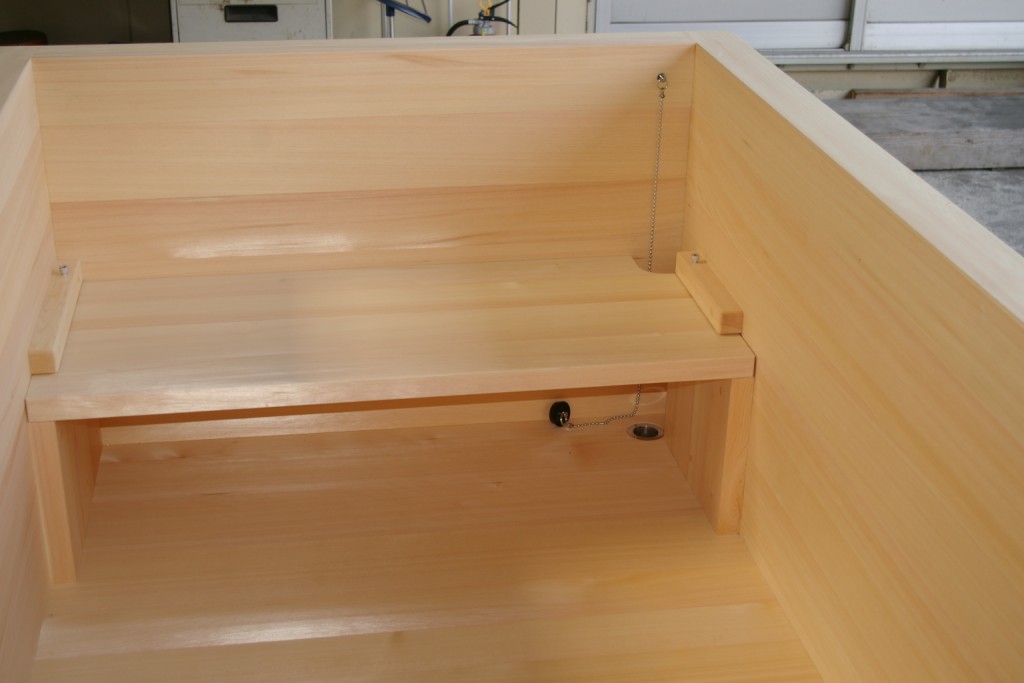
Our drains are compatible with both metric and imperial fittings. (see here the detail of our standard socket).
Since there is little space under the tub to tighten the nut, we can make a higher base for the tub so please let us know in advance. For timber framed houses the connection is often made from the ceiling below or from the basement.
Of course the disadvantage of this situation is that the tub cannot be moved freely. Also, often the tub is raised up to make the drain connection: which makes it more difficult to enter/egress.

If all this is not clear, we can setup a zoom or whatsapp call with your plumber and of course you can call me at the time of installation for any problem or question.

Another note for hard-headed plumbers: our ofuros do not come with certifications like ASME etc.
On the other hand, an ofuro is not a sanitary equipment (for washing the body) but is a soaking equipment (for relaxation) so the certification is not needed in the first place…

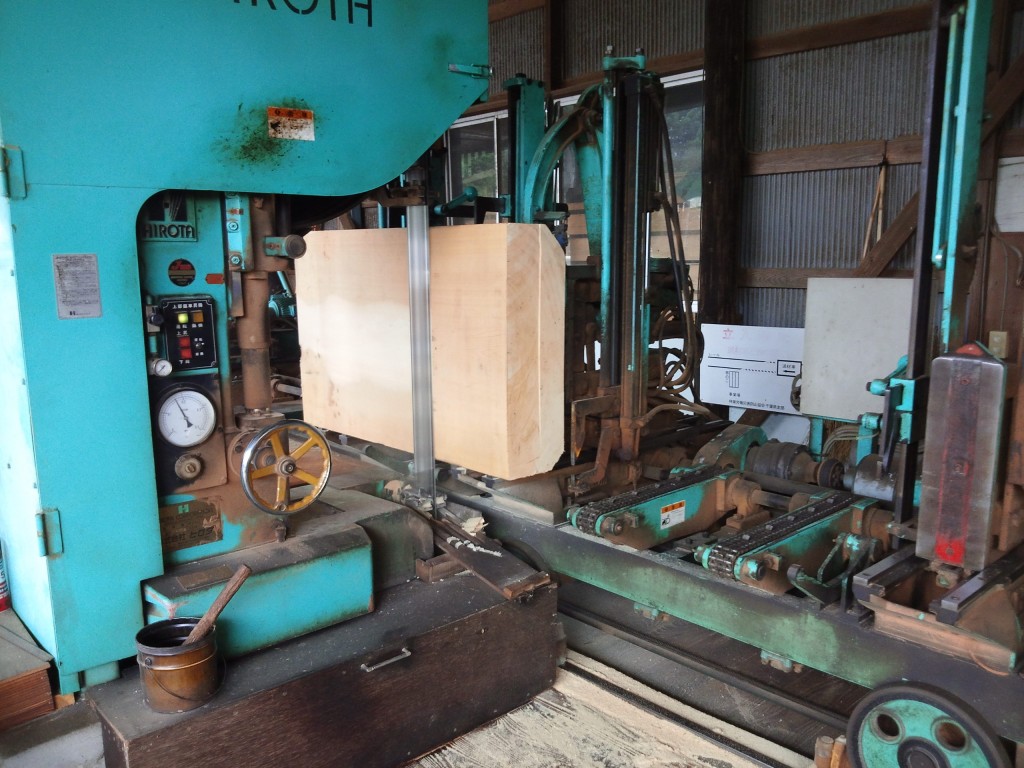
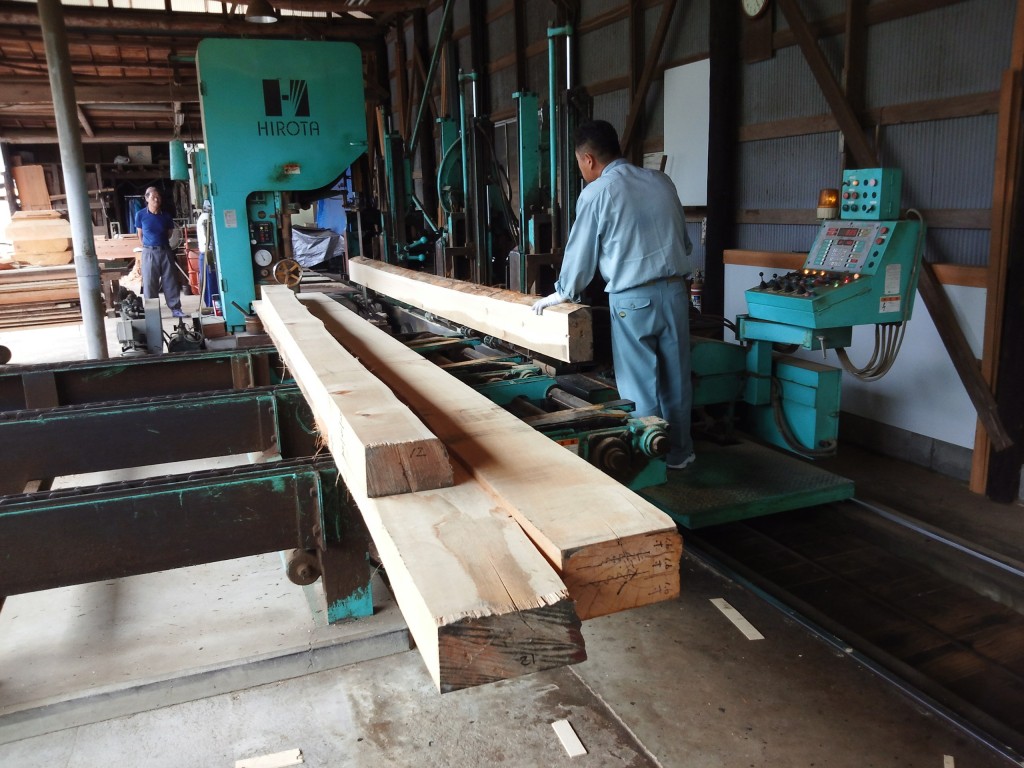
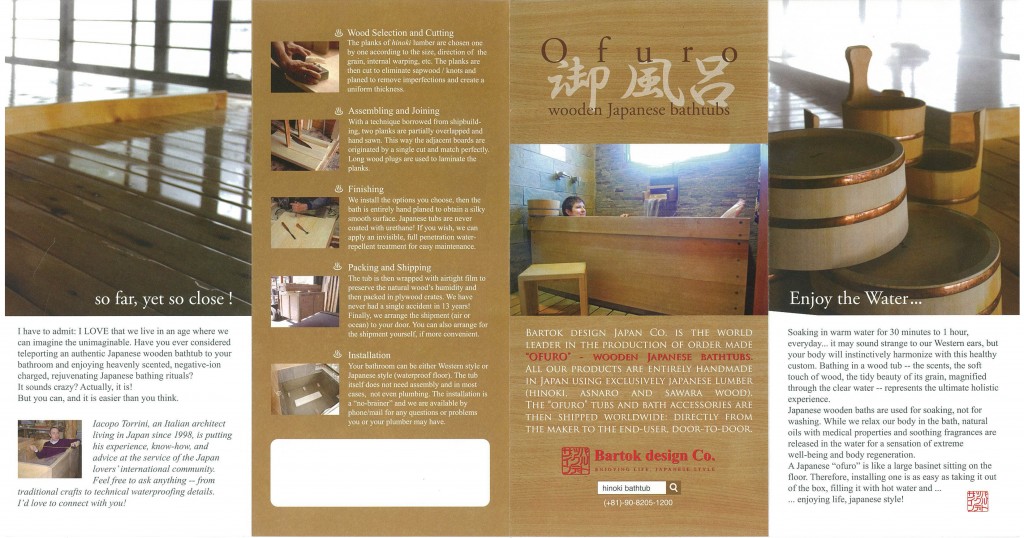
wood selection and cutting

1 – SELECTION
The hinoki wood boards are chosen one by one according to the necessity and planned use
2 – PREPARATION
The wood is cut as per the required sizes, eliminating soft areas (young layers) and knots, respecting the direction of the grain.
3 – CALIBRATION
The wood is planed to remove the imperfections and bring it to a uniform thickness.
4 – CUT
With a technique borrowed from boat construction, two planks are partially overlapped and hand sawn: so the adjacent boards are originated by a single cut and can match perfectly.

order process

This is the typical process from order to delivery:

  • Please take a look carefully at the ordering summary and ordering checklist
  • Fill in the information request form
  • After our answer by email, feel free to ask everything that concerns you by email or telephone. You can contact us in english, japanese or italian.
  • You can telephone us, anyway e-mail may be more convenient because of time difference and not native pronunciation.
  • We will send you a quotation in pdf format. We use Japanese Yen to eliminate the risk of currency valuation which normally is built in the prices. (UPDATED 2008.9.1)
  • After your positive response, we will prepare drawings and send to you in pdf format. Please review carefully, expecially sizes.
  • When all matters (cost, drawings) are defined, you are ready to order.
  • We will require at least 50% advance payment on custom items (accessories, transport are payed 100% together with the balance) to confirm the order and start manufacture.
  • All payments should be done through wire transfer to our bank accounts in Japan (Minato Bank Corporation or Bank of Tokyo-Mitsubishi-UFJ.) and all bank charges (30~50 US$) should be settled by the payer.
  • Manufacture takes between 10~30 days, according to workload and complexity of the item.
  • Once completed, we will send photographs for your review and approval and will require payment of the balance before shipping.
  • After receiving the balance, we will ship the tub as agreed (air or sea)and will promptly forward you the shipping documents.
  • You will be contacted by the agent of our forwarder and the tub will be delivered on site.
  • Please open the box and check for any damage: any claim should be made within 5 days (insurance coverage conditions)
  • It is VERY IMPORTANT that you put back the protective plastic wrap until ready to install.
  • Have your carpenter install the tub and fill it up to the edge. Enjoy the bath. Leave it full for few hours the first time to allow wood to reach the ideal humidity level.

frame & apron

On this page you will find some of the commonly used terms and descriptions to help you finalise your ofuro order.
1 – PLANK EDGE
The 42mm thick hinoki slabs are joined in such a way that the more permeable head of the plank is completely protected.
2 – KAMACHI (BORDER) EDGE
For tubs wider than 800mm, it is necessary to strenghten the top with a 60mm thick frame (kamachi).
3 – COPPER APRON
Traditionally a copper apron is applied on the bottom to protect the side of the bottom plank. It has 2 functions:

  • avoid water to penetrate the wood perpendicular to the grain
  • the copper oxyde has a fungicidal action.
4 – NO APRON
For a lighter, more natural look we can treat the bottom plank head with natural oil by Kreidezeit. In modern bathrooms this area is not so severely exposed to rot like it used to be in ofuro of the past.

easy fit

1 – WATERPROOFING
If the bath is not at the ground floor, for precaution, floor and shoulders should be waterproofed up to 90cm
2 – WALL FINISHING
Wooden wall panelings are popular with hinoki tubs but we recommend a 10cm protection above water level for easy maintenance.
3 – HINOKI UNIT
The bathtub is shipped in one piece and is ready for installation. It should be left on site for at least 24 hours before installation.
4 – ADAPTING
The hinoki tub is set in place: it can be fitted in tight or leaving a gap from the perimetral walls. See the FAQs.
5 – SET
The tub does not need caulking but it can be sealed if you prefer. Protect until tile grouting is completed.
GO! -6
Just fill it up and enjoy life!

assembling and joining

5 – SASHIKOMI
Wood plugs are used to compose the top border (kamachi) with the 2 lower sections of one side.
6 – TSUNAGI
Rectangular (or round) holes with a stiching pattern are hand-cut on the head of the long sides with the aid of a chisel.
7 – SLITS
Tongue and groove joints are prepared on the heads to ensure solidity and to create a definitive barrier to water leaks.
8 – ASSEMBLING
The 4 sides and the bottom are assembled. We use stainless screws to reinforce the baht-tub while keeping them invisible.

order checklist

As each bathtub is custom made sizes, materials, details are different. For this
reason, you will need to contact us for a detailed quotation.
Please go thru this checklist before placing an information request.

  • did you read the ordering summary and order process pages?
  • can you wait 40~60 days?
  • it takes us several hours to draw and quote your bathtub. Are you seriously motivated?
  • are you ready to equip the bathroom with an hygrometer to check periodically the relative humidity of air?
  • if possible fax us a plan of your bath area so we can advise.
  • please let us know desired shape, sizes (external) in millimeters.
  • Do you want to use Knotty hinoki? Straight hinoki? Asnaro wood?
    please refer to the details page for the questions below:

  • do you want a solid looking top frame (more expensive) or a minimalist box-like shape?
  • do you want the bottom base to be with copper plate or oil treated?
  • do you want the joints to be with round plugs or square copper plates?
  • do you want a straight back or slanted back?
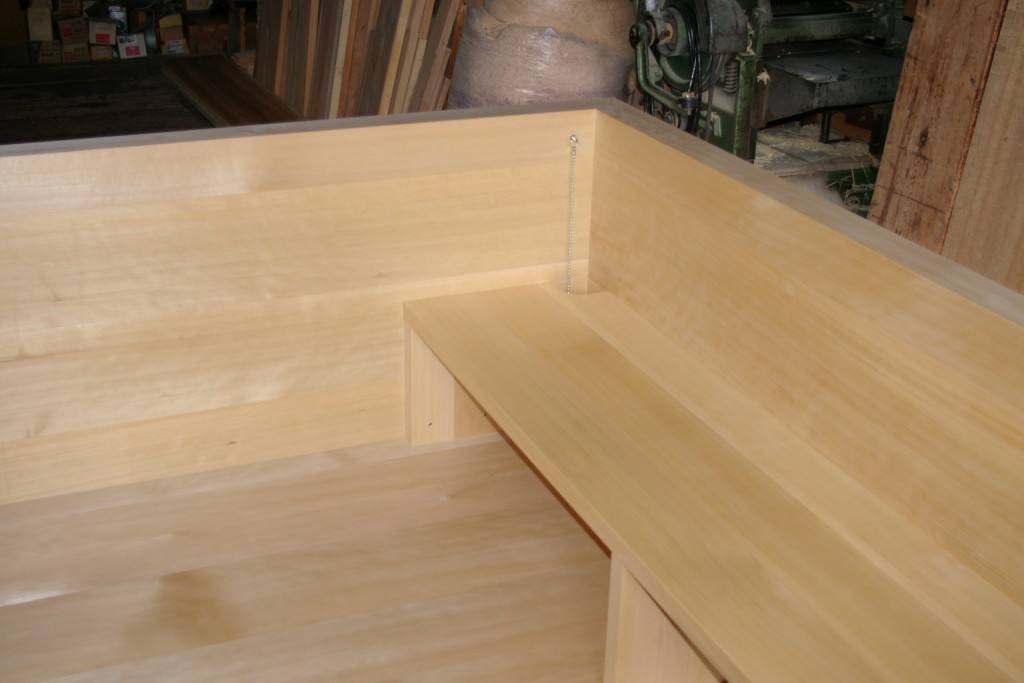
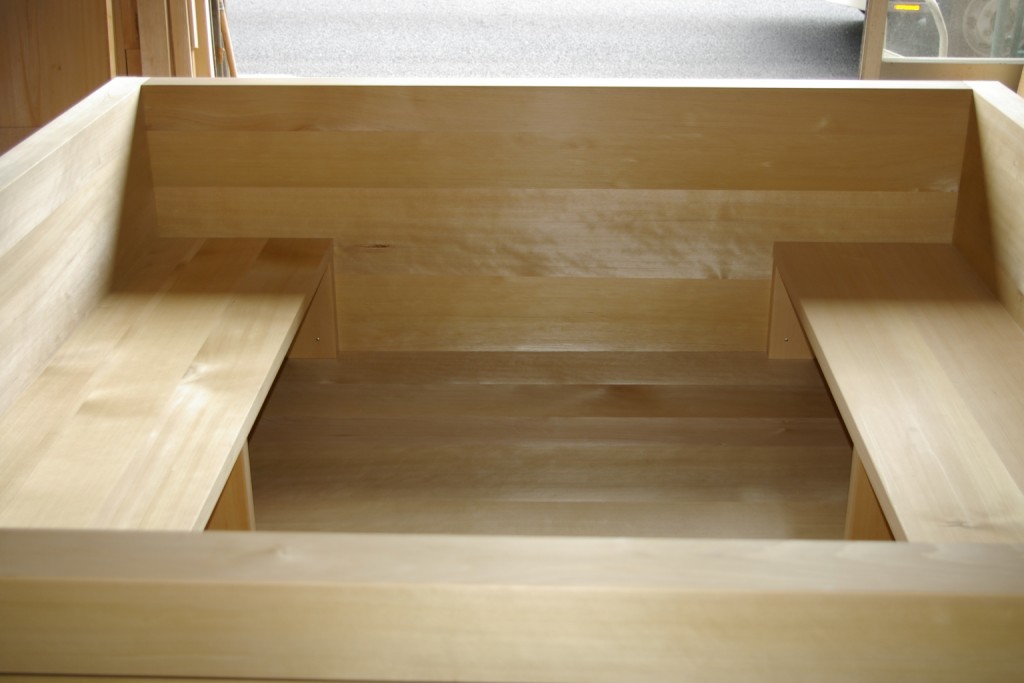
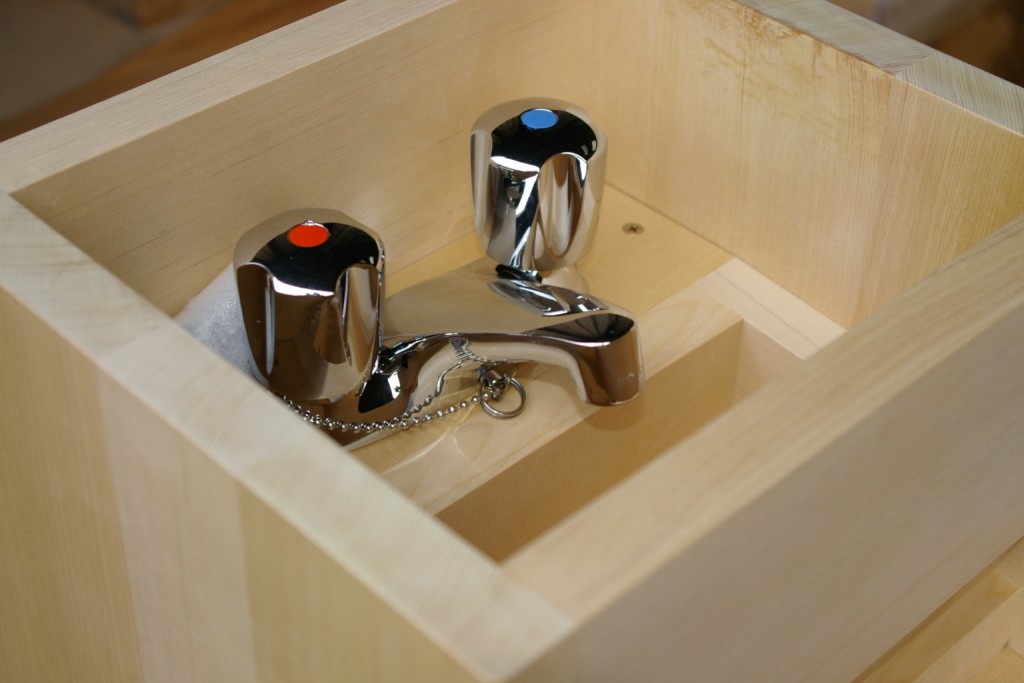
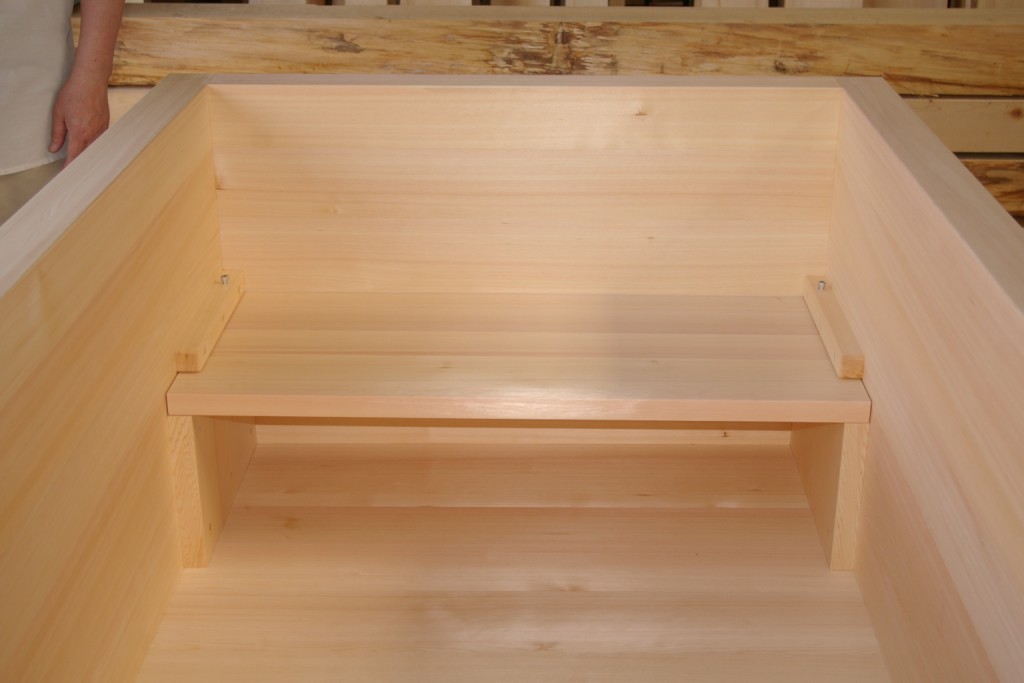
  • do you want a built in bench? spout? tub cover? accessories?
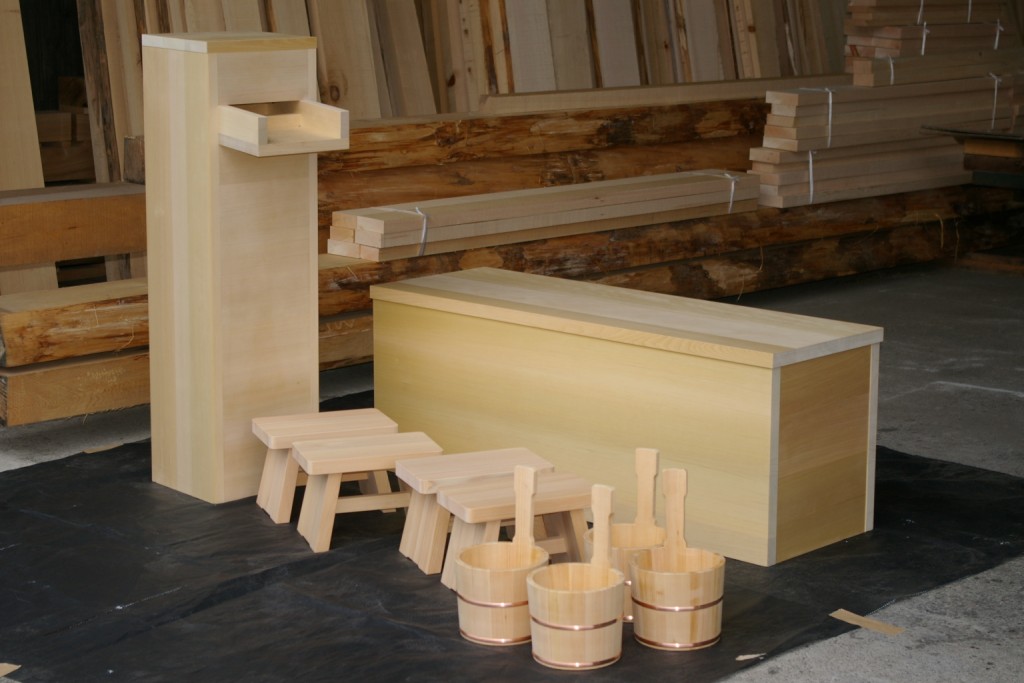
  • note that we can sell accessories (stool, bucket, duckboard) independently from the the purchase of a tub. (UPDATED 2009/5)
  • do you want us to install the drain fitting or just supply it and have you drill it in site?
  • unless differently specified, we will iron brand the Bartok design Japanlogo on the top right side.

Back to top