finishing the daybed frame
Here are the photos of the finishing phases of the “Michael” day bed manufacture
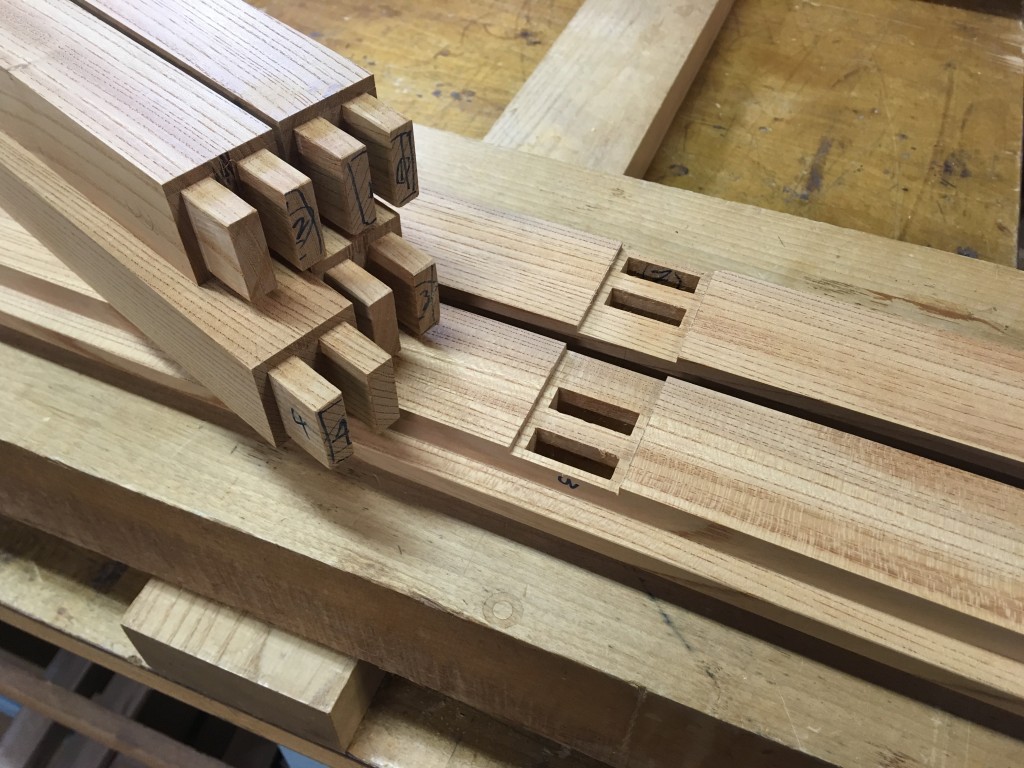
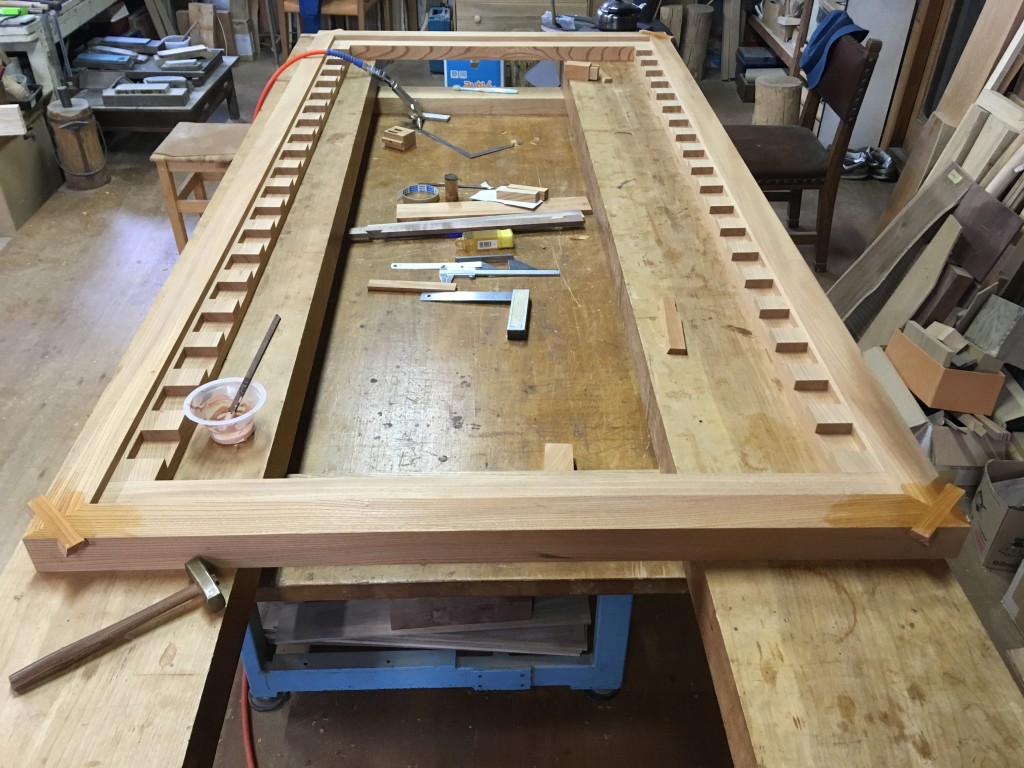
The legs pegs are positioned to take advantage of the thickest section of the frame
click below to see the other 13 photos of the manufacture!
Alternatively, check the crowdfunding campaign page for more details and to purchase keyaki daybed: http://igg.me/at/su-day-bed
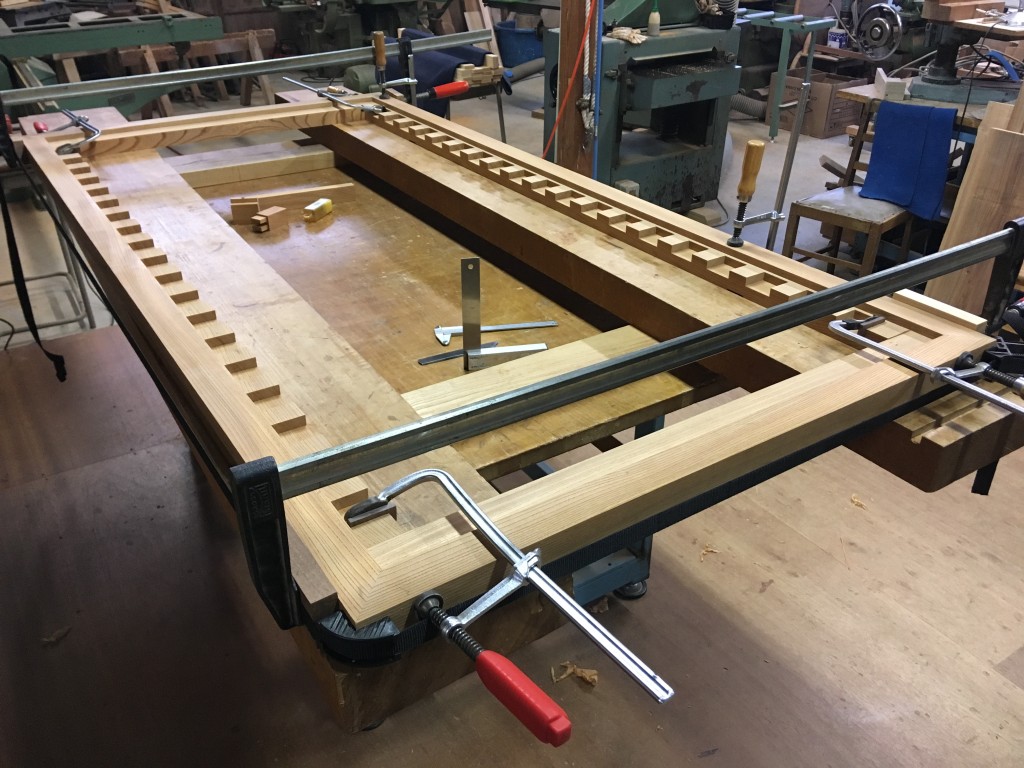
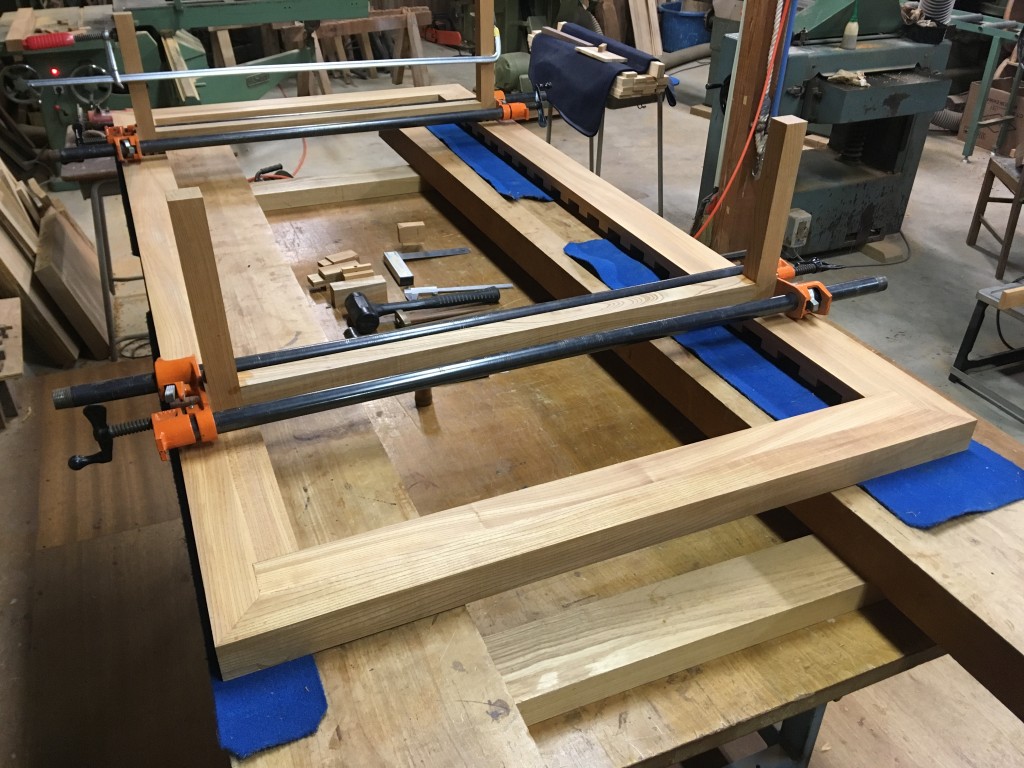
we are finally ready to assemble the 4 sides of the frame and press it as it is being glued
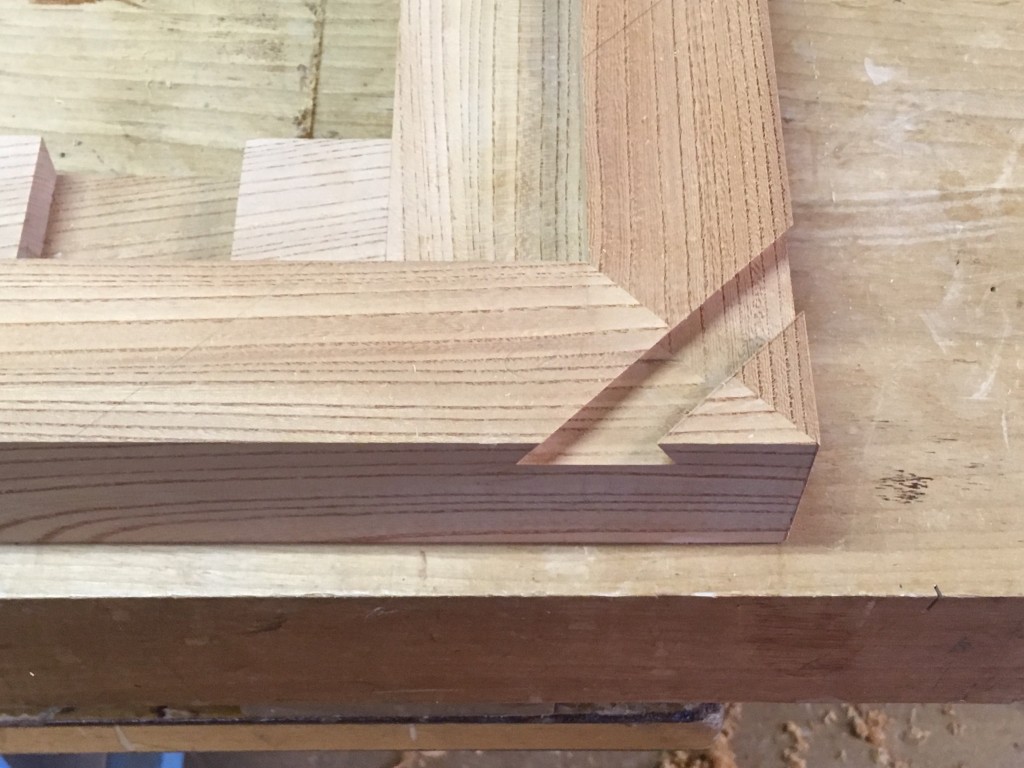
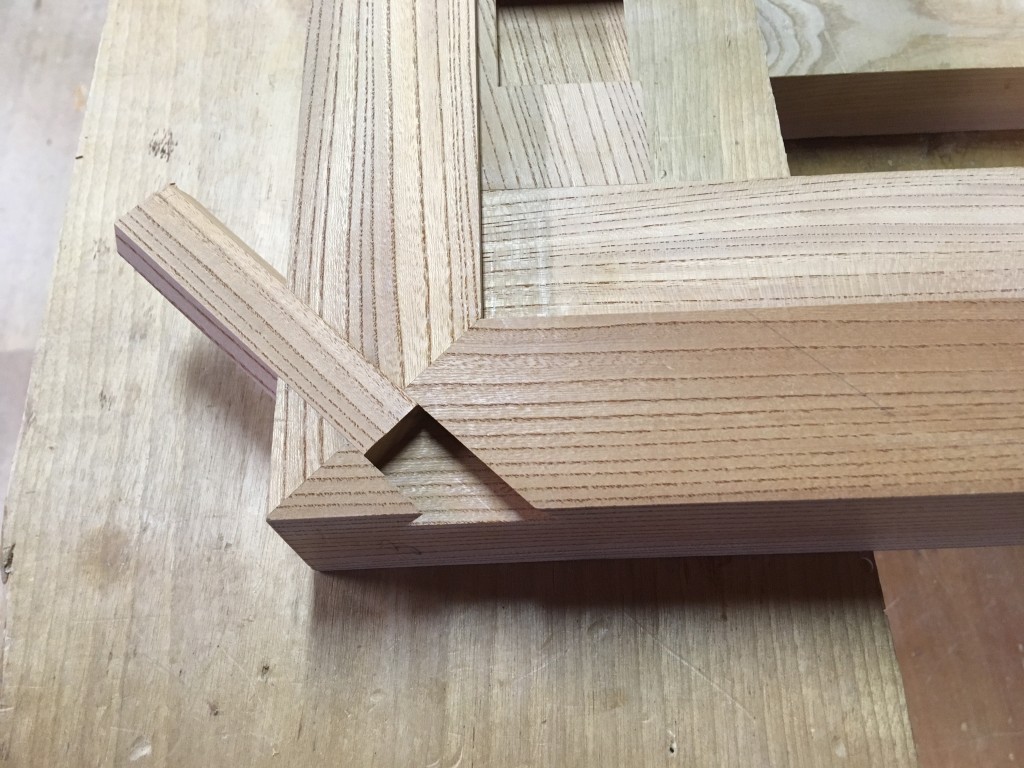
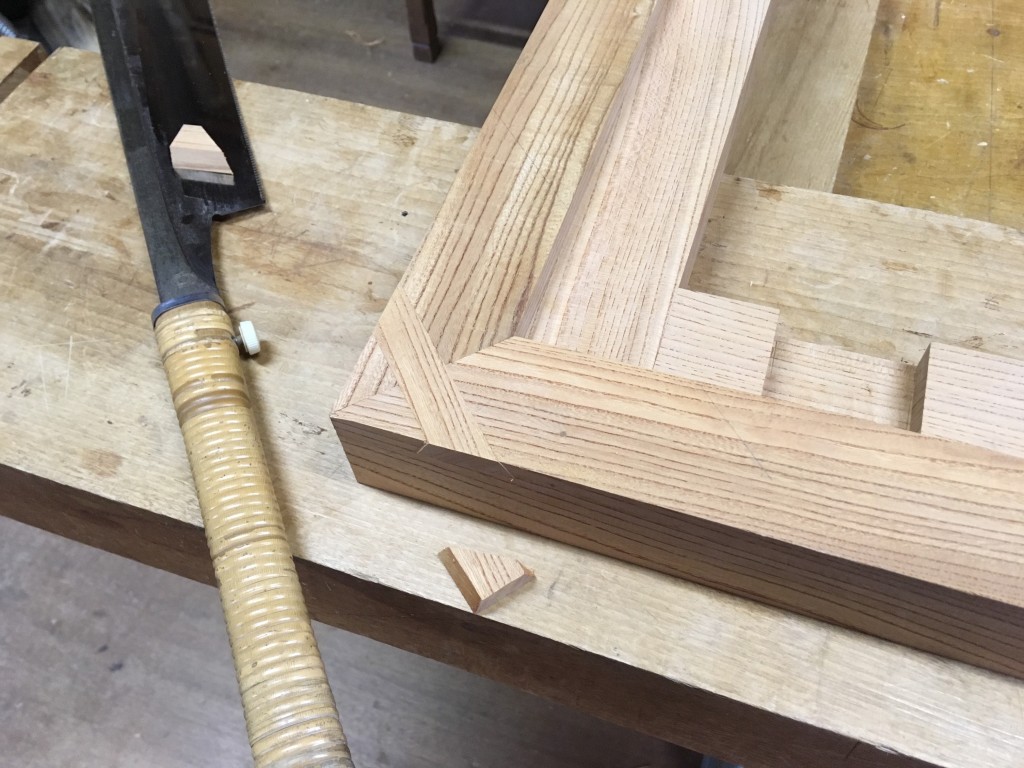
dove-tail cut to firmly keep together the corner elements
the matching peg slides into place
the corner stiffeners are glued
and the protruding portion is cut flush
the legs and cross joists are assembled. This joint as well is completed without using a single nail or screw!
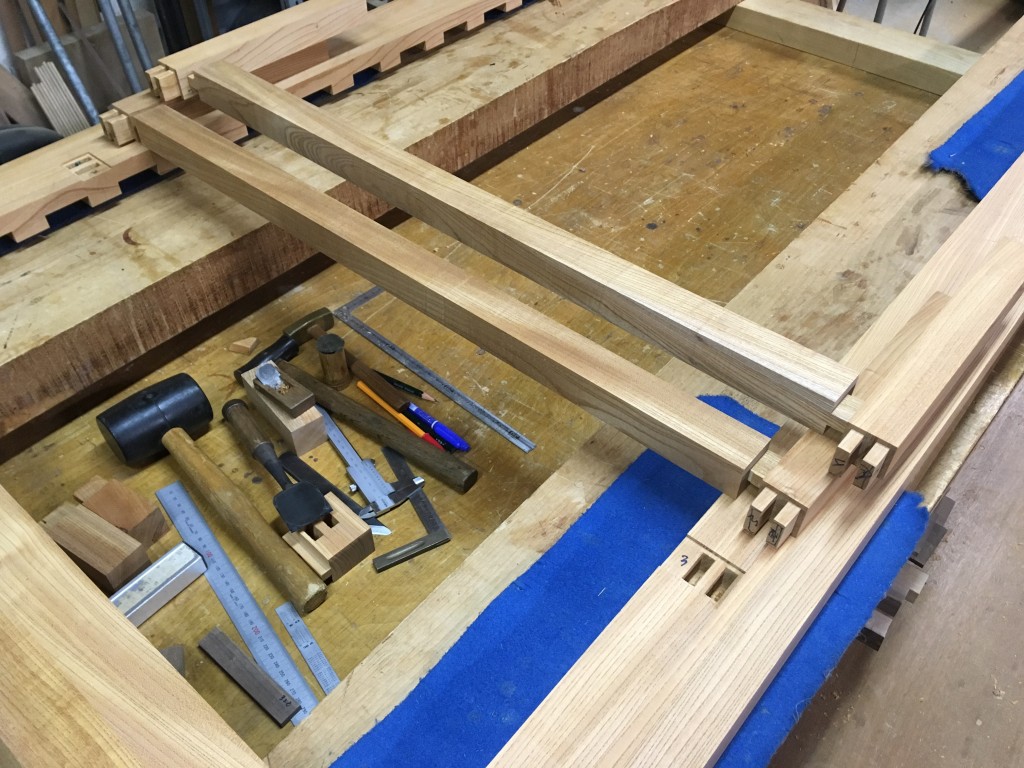
the legs are set in place and plugged into the beams
the corner joints are seamlessly smoothed out with a hand plane
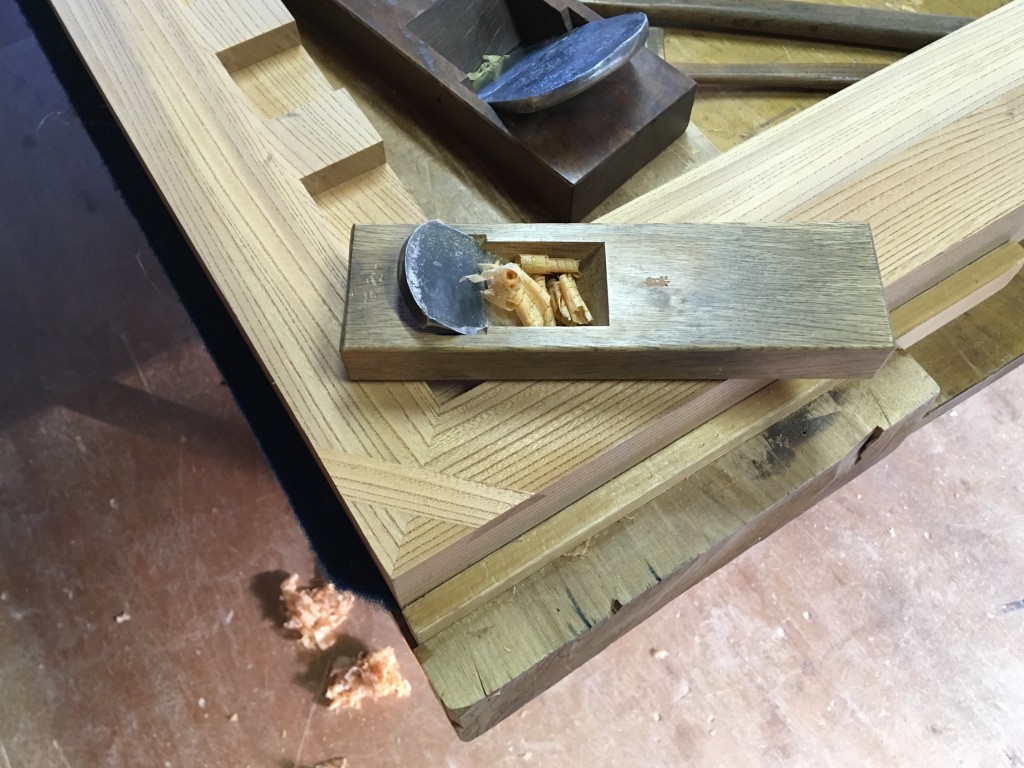
and the top corner is rounded (3mm radius)
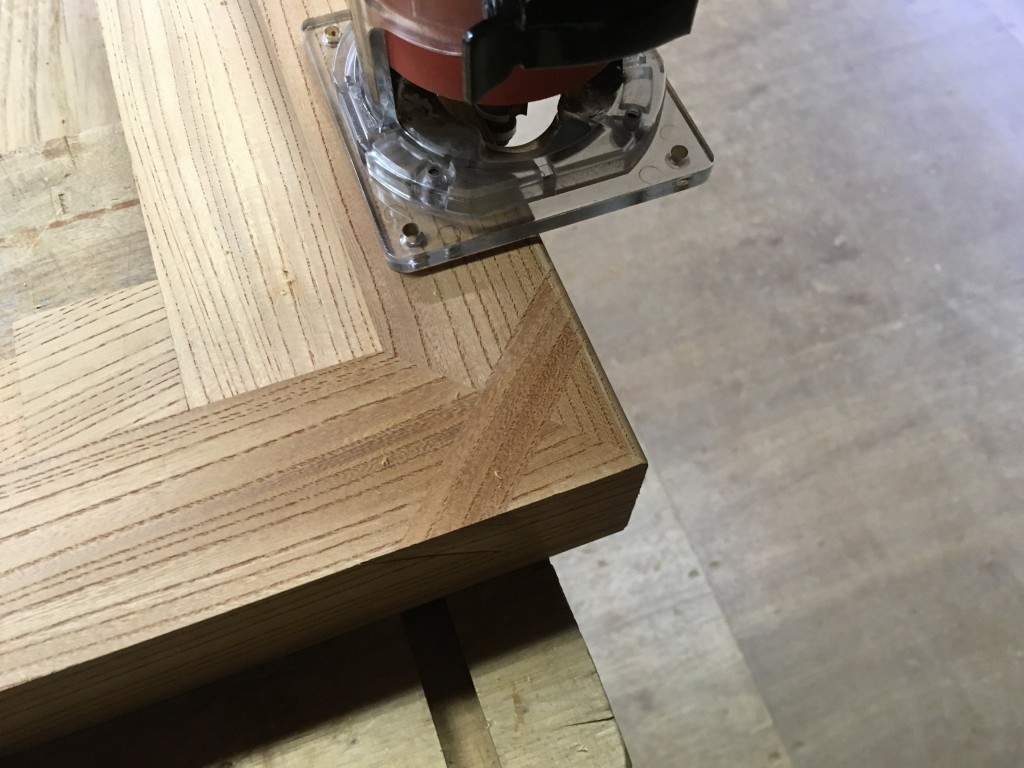
the frame is sliced with an angle to create slanted sides. The trapezoidal section looks thinner and sharp, at the same time when sitting, the thigh follows the same angle and thanks to this detail it doesn`t touch the bottom convex corner.
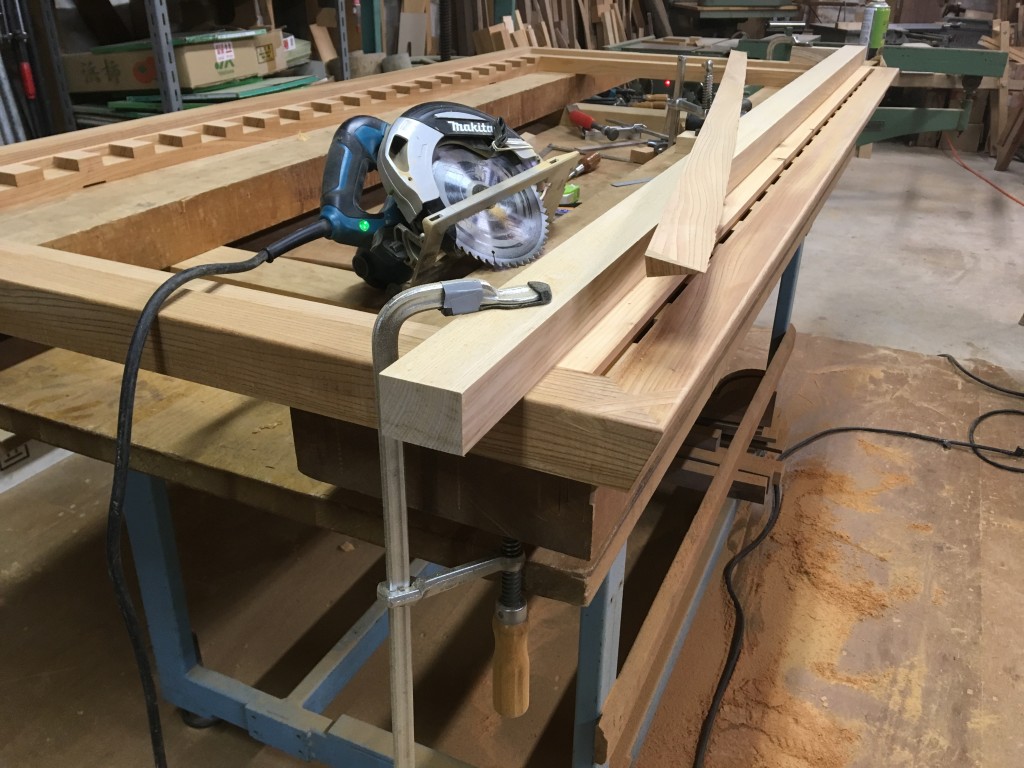
here are the left overs after slicing the frame on its 4 sides

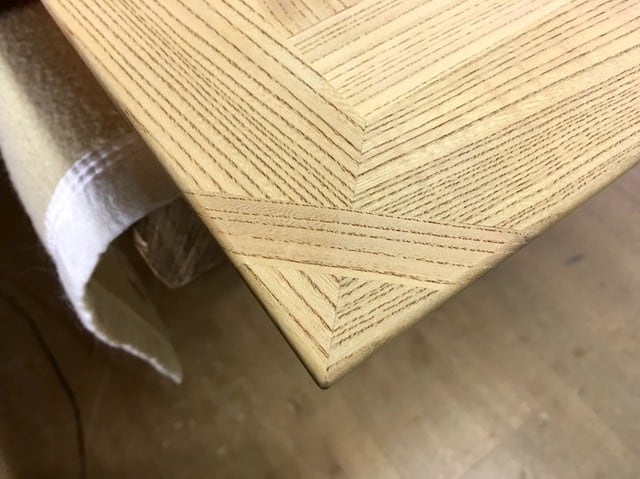
and here is the corner sharp and smooth at the same time!
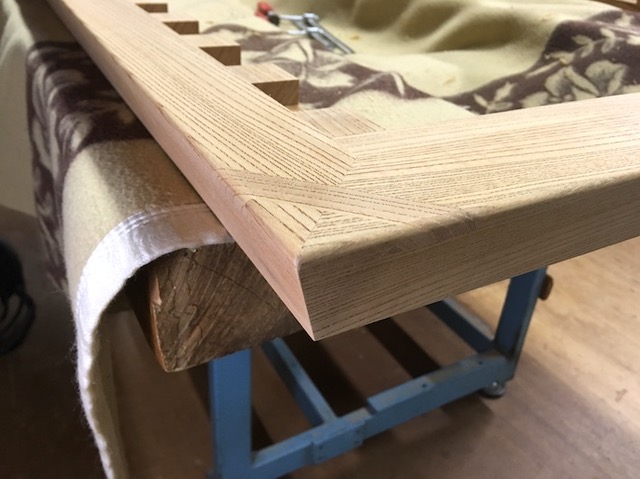
wies of the day bed corner from top. The graphic wood pattern of keyaki is the only indication of the subtle design of the corner reinforcing dovetail joint. Next week I will give an update about the leather cushion and then we will enter in the final phases of the finishing and assembling!
Leave a Comment